
Gluten-Free Pie Crust (dairy-free option)

This gluten-free pie crust can be used to make sweet or savory pies. All you need is your favorite savory or sweet filling and a delicious pie is within reach. Think, chicken pot pie, or something like apple pie, you can find my grain-free apple pie here.
*This post may contain several affiliate links. As an Amazon Associate and Walmart Affiliate, I earn from qualifying purchases at no additional cost to you read disclosures.
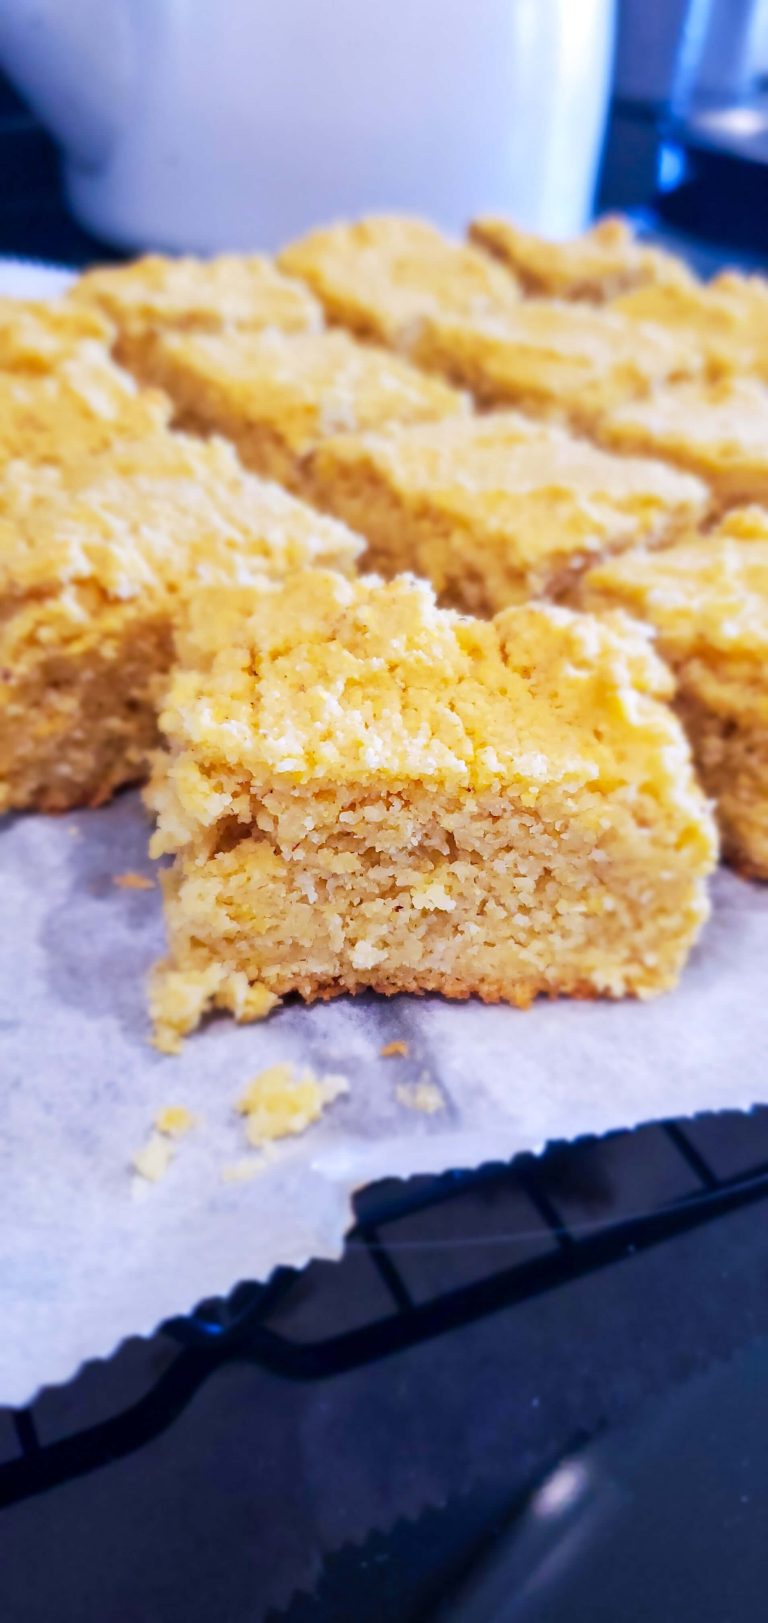
This flaky and delicious gluten-free pie crust bakes golden, flaky, and delicious. Use it for sweet or savory pies. It uses coconut oil and can be made dairy-free. This is my go-to pie crust!

Make Gluten-Free Pie Crusts
You will need:
- Whisk
- Pastry Blender or fork
- Rolling pin
- Mixing bowl
- Measuring cups
- measuring spoon
- parchment paper
- Pie pan
Ingredients:
- Gluten-free flour that contains xanthan gum, I used Bob’s Red Mill 1-to-1
- Sea salt
- Sugar (optional for sweet pies)
- Vinegar
- Eggs
- Coconut oil – or other dairy-free shortening
- Ghee – Vegan Ghee option here: or other dairy-free shortening (see notes and tips below)
- Ice-cold water
How to Make Gluten-free Pie Crust
- Mix flour and salt (plus sugar for sweet pie crusts)
- Add in coconut oil and ghee
- Using a pastry blender or the back of a fork, press oil into the flour mixture until sandy crumbles form throughout.
- Next, add 2 teaspoons of vinegar to 5 tablespoons of ice-cold water and mix.
- Add this liquid to your flour mixture using a spatula or your hands until all liquid is absorbed
- Next, add in two eggs and combine
- Use the rest of your ice-cold water to help the dough come together.
- Add one tablespoon at a time ( I used 8 tablespoons in total).
- Combine until a dough is formed; it’s okay if it’s slightly dry, but make sure it comes together in your hands when forming the dough ball.
- Split the dough into two equal pieces, roll into a ball, and flatten into a disk.
- Wrap in plastic wrap or wax paper and place it in the fridge for at least 15 minutes.
When ready to use, place the dough disk on a piece of parchment and roll it out.
You want both to be larger than the circumference of your pie pan.
Place your pie pan upside down on top of your rolled-out dough
Place your hand on the bottom of the pan, and your other hand under the parchment, and then flip the dough into the pie pan.
Don’t worry if it breaks slightly; the dough is easy to form and press into place.
Fill the pie with your filling.
Place a hand under the other rolled-out dough and flip it on top of your filled pie.
The edges may naturally fall from the sides of your filled pie.
Next, pinch the dough to close the edges, brush it with your milk of choice, cut slits in the top, and bake according to your recipe.
Makes 2 pie crusts
Tips for Gluten-free Pie Crust (FAQ’s)
You can use all coconut oil, all butter, or all dairy-free alternatives of your choice. I use a combination of ghee and coconut oil, and it’s my favorite for just the right consistency, texture, and rich buttery flavor, but use what works for you.
The eggs are quite important here as they help the dough achieve a texture similar to that of recipes with gluten. The eggs also give a beautiful color, texture, and richness, while keeping the dough intact.
Vinegar is a key ingredient in the dough because it keeps it tender and prevents it from becoming tough. I prefer to use a mild-tasting vinegar like gluten-free rice vinegar, but use whatever vinegar you have.
Brushing the pie crust with coconut milk (or your milk of choice) helps give the finished crust a shiny matte finish and it helps it turn golden brown. *This step is optional.

Gluten-Free Double Pie Crust
Equipment
- Whisk
- pastry blender or fork
- Measuring Cups
- Measuring Spoons
- parchment paper
- Rolling Pin
Ingredients
- 2 1/2 cups gluten free all purpose flour containing xanthan gum
- 1 tsp salt
- 1 tbsp sugar for sweet pies
- 2 tsp vinegar rice vinegar or what you have on-hand
- 2 eggs
- 1/2 cup coconut oil or sub dairy-free shortening
- 1/4 cup ghee or sub 1/4 cup coconut oil
- 5-7 tbsp ice-cold water
Instructions
- Mix flour and salt (plus sugar for sweet pie crusts)
- Add in coconut oil and ghee
- Using a pastry blender or the back of a fork, press oil into the flour mixture until sandy crumbles form throughout.
- Next, add 2 teaspoons of vinegar to 5 tablespoons of ice-cold water and mix.
- Add this liquid to your flour mixture using a spatula or your hands until all liquid is absorbed
- Next, add in two eggs and combine
- Use the rest of your ice-cold water to help the dough come together.
- Add one tablespoon at a time ( I used 8 tablespoons in total).
- Combine until a dough is formed; it’s okay if it’s slightly dry, but make sure it comes together in your hands when forming the dough ball.
- Split the dough into two equal pieces, roll into a ball, and flatten into a disk.
- Wrap in plastic wrap or wax paper and place it in the fridge for at least 15 minutes.
Notes


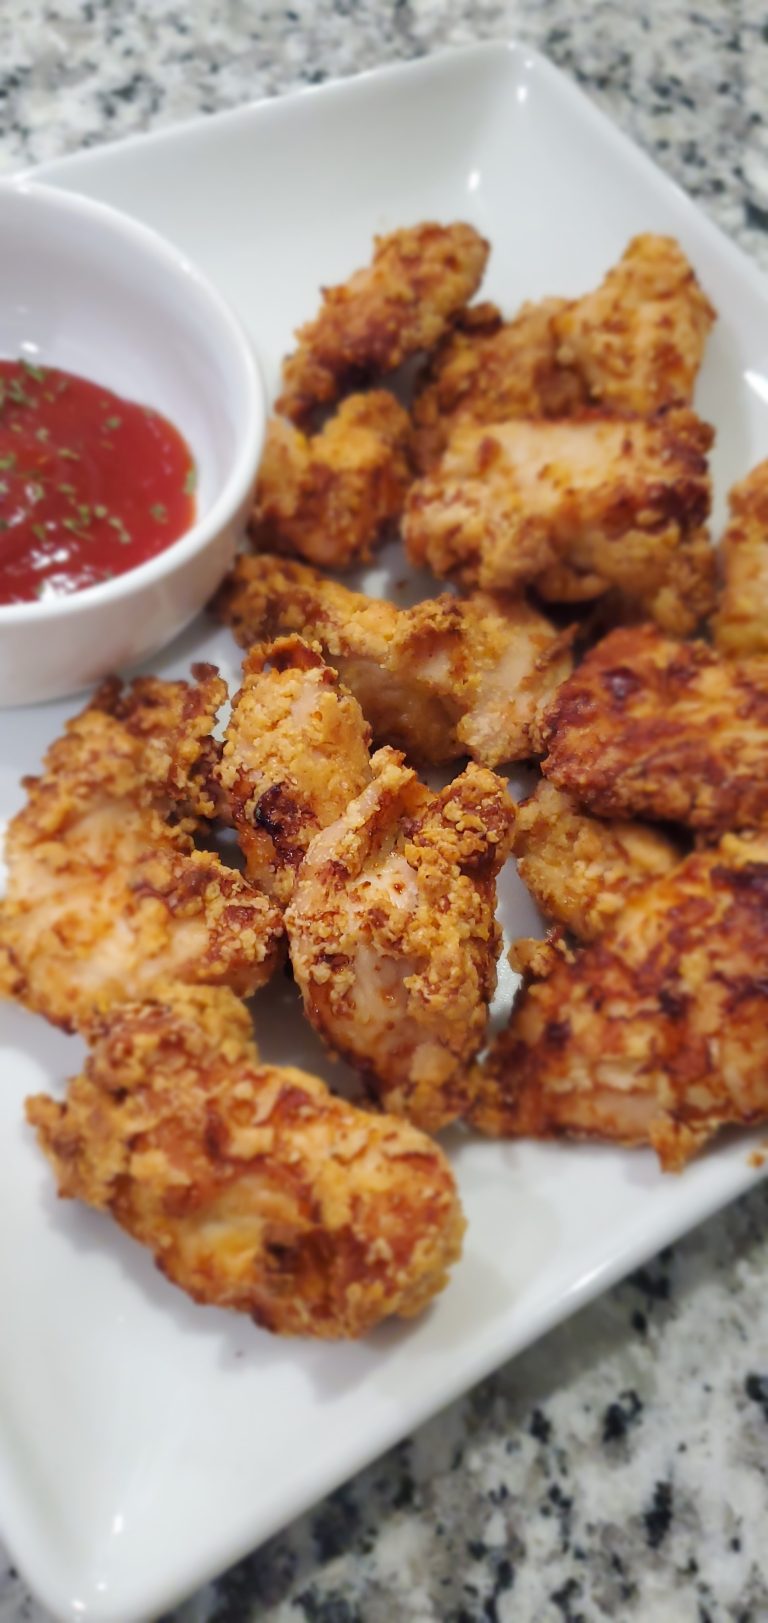

This recipe is perfect for a savory or sweet filling. My family requests chicken pot pie made with this crust.